History
The Completed Orders Tab is accessed by selecting the History button located on the Home Screen and provides detailed information about your Sales. Within your Completed Orders Tab you can view completed Sales and Sales that require additional attention. You can also take actions with regard to individual Sales like, print receipts, send email receipts, and issue refunds.
Screen Organization
The Completed Orders Screen organizes information into seven screens. To navigate between screens, you can either select the forward and backward arrows on the ribbon tab or tap the screen name in the center of the ribbon to populate a dropdown list off all screens listed. The last option is to swipe the screen to the left or the right to move from one screen to another.
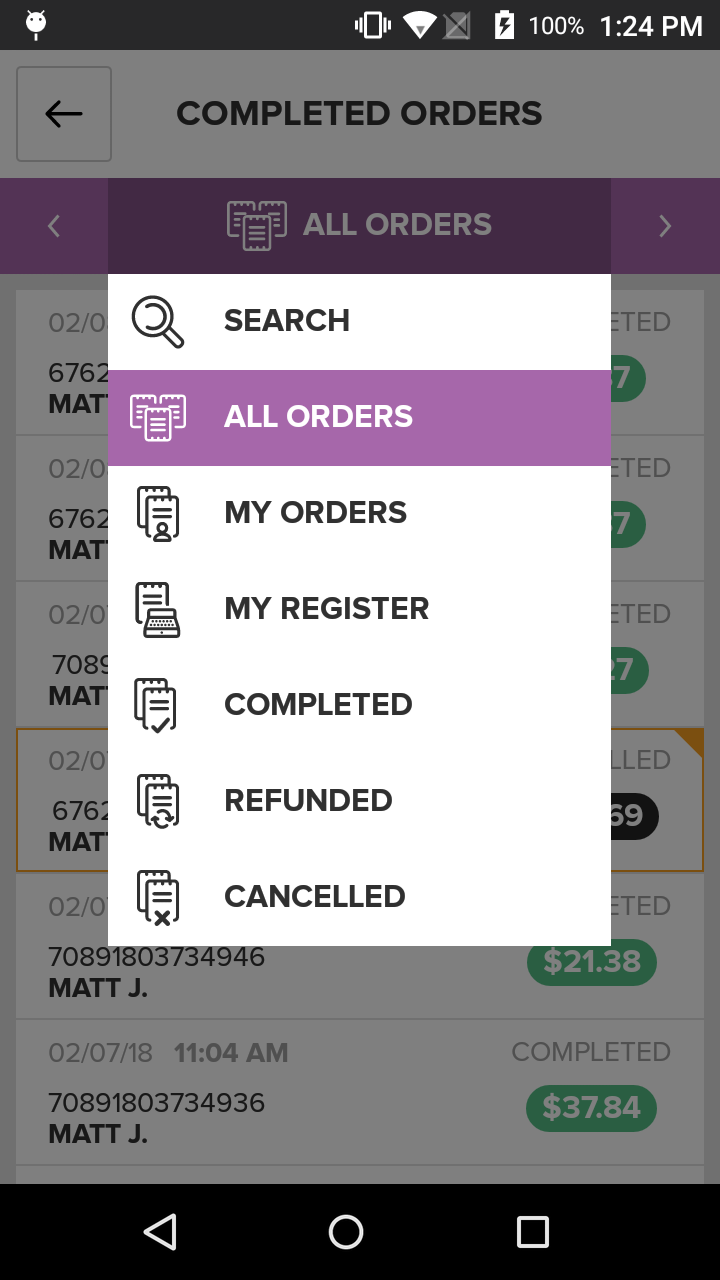
Search Screen
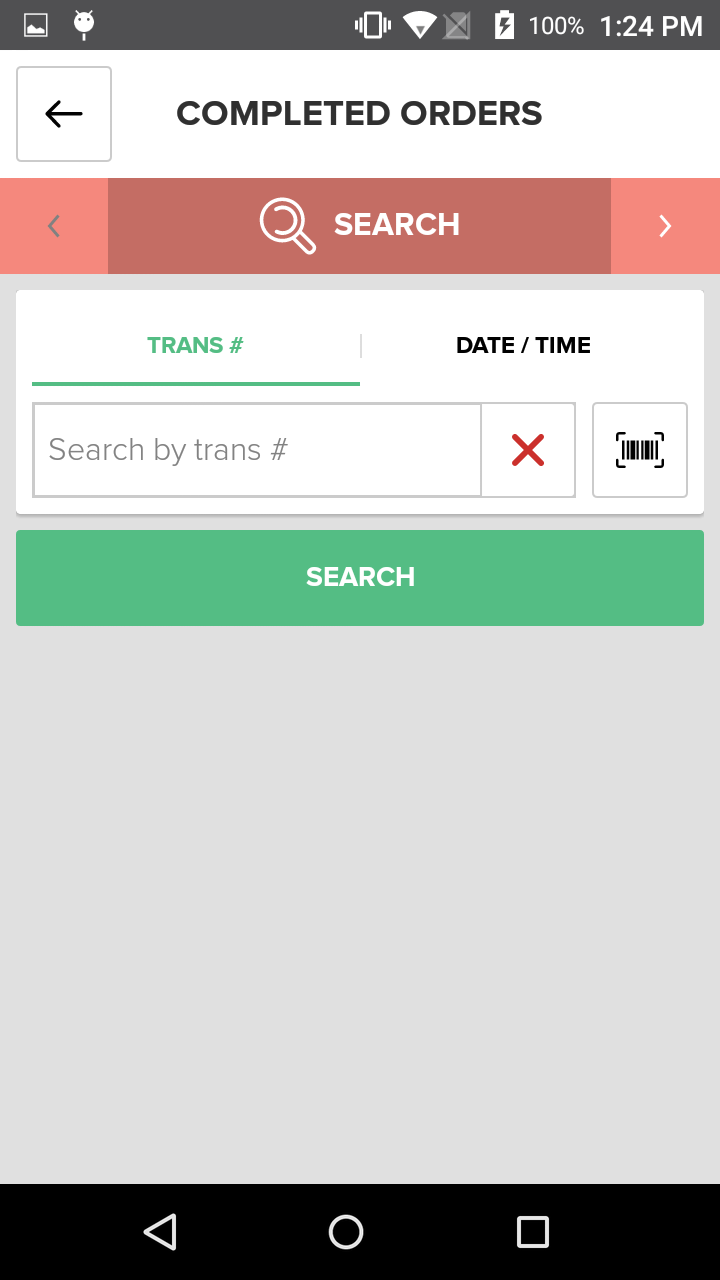
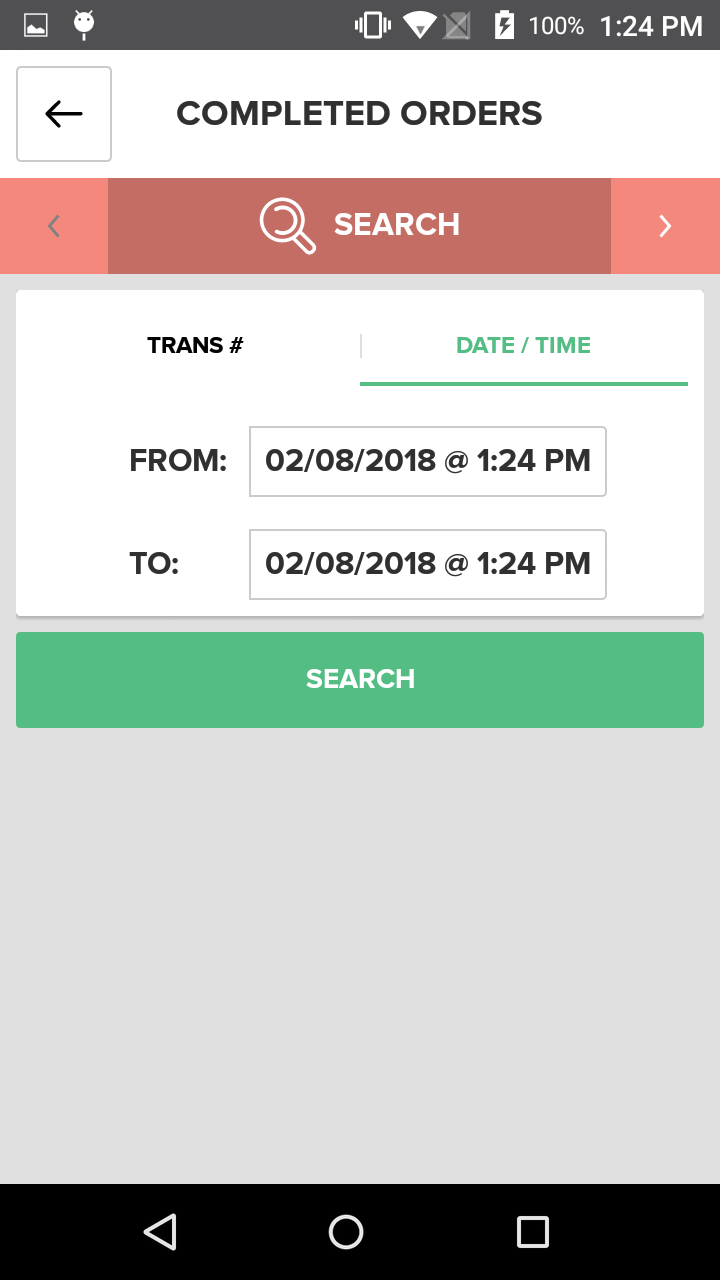
The Search Screen allows you to search all Sales in the current Batch by Transaction Number or by Date Range.
To search by Transaction Number, tap the Search by Trans # Button in the center of the Search Panel and then begin typing in the Transaction Number using the onscreen keypad. Press the Search Button to initiate the search for that Sale. If you’d like to perform another search after the results are displayed, press the Clear Button.
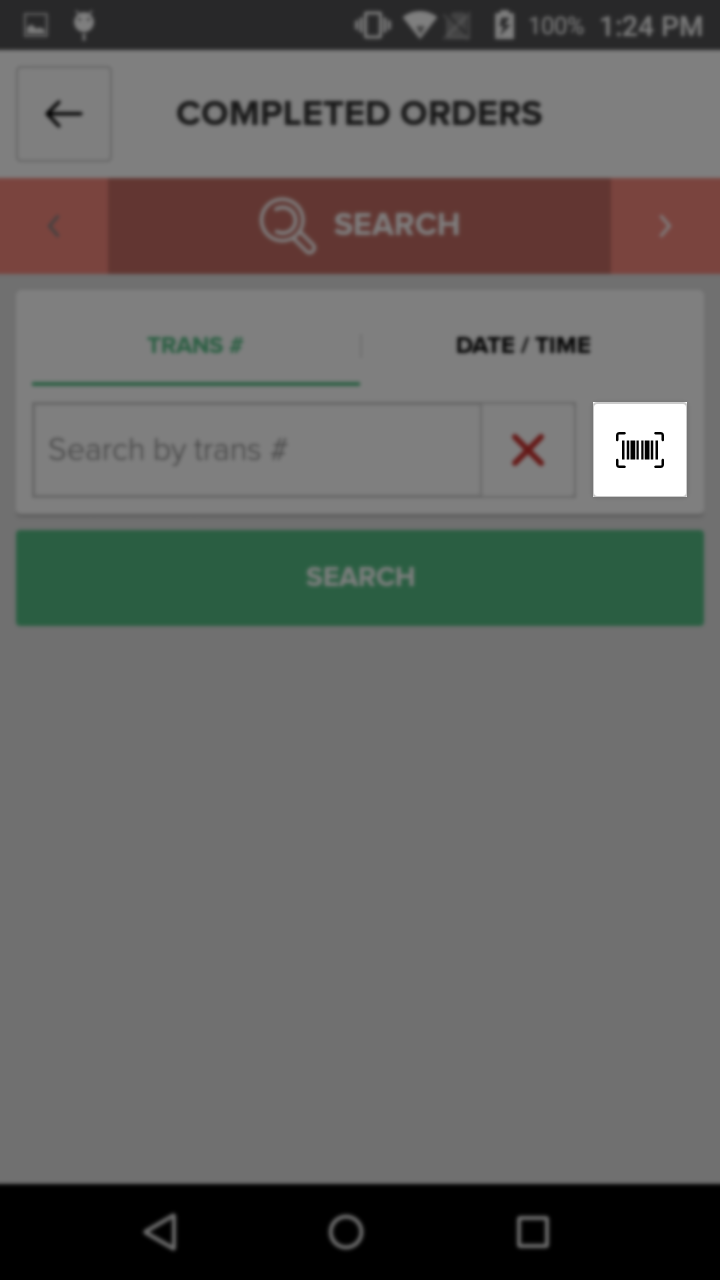
To search by scanning a receipt, you must first have the scanner enabled in theRegister Settings. Once you have enabled the scanner, navigate to the Search screen, and then select the barcode icon on the right side of the input box . Once the scanner screen appears, simply scan the barcode at the bottom of the receipt to search for the Sale.
To search by Date Range, press the Date/Time tab on the Search Panel, then select the From and To date selection boxes. Once you have entered the desired From Date/Time and To Date/Time, press the Search Button. T results will be listed in the center of the screen. If you’d like to perform another search after the results are displayed, press the Back Button.
All Orders Screen
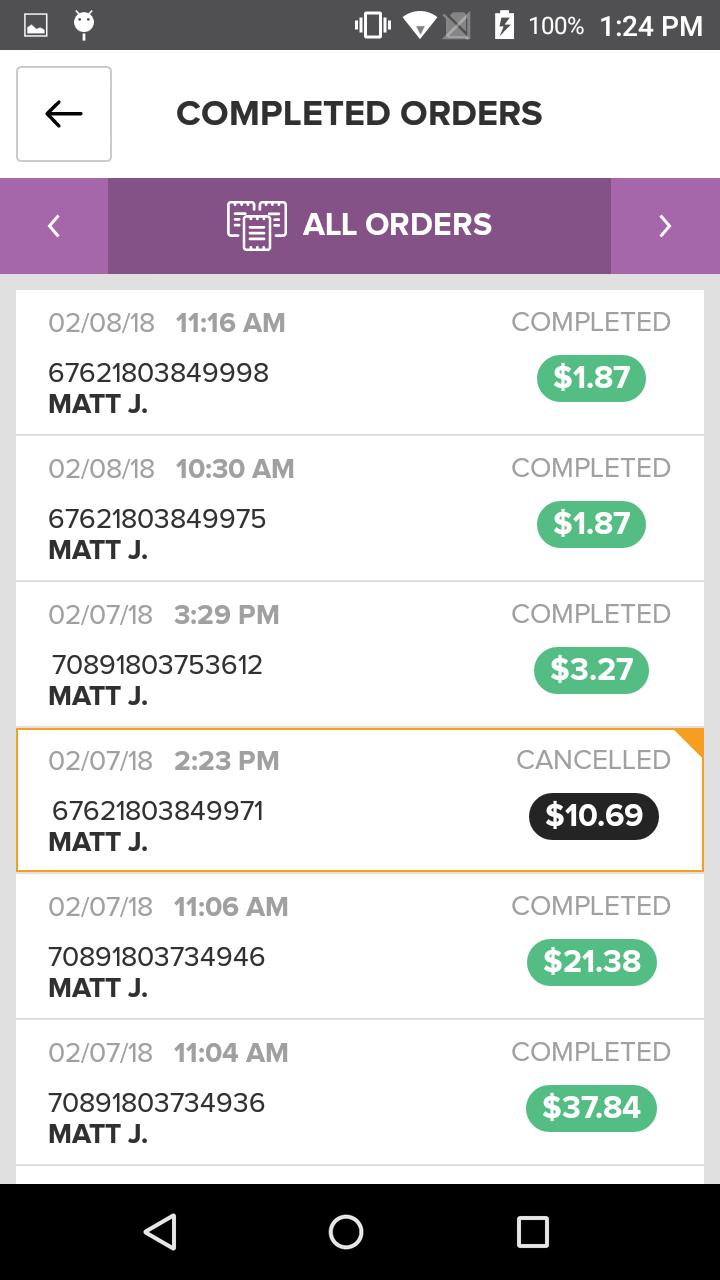
The All Orders Screen lists all Orders in the current Batch. This is a good screen to use if you are interested in reviewing all Completed Orders in one place.
My Orders Screen
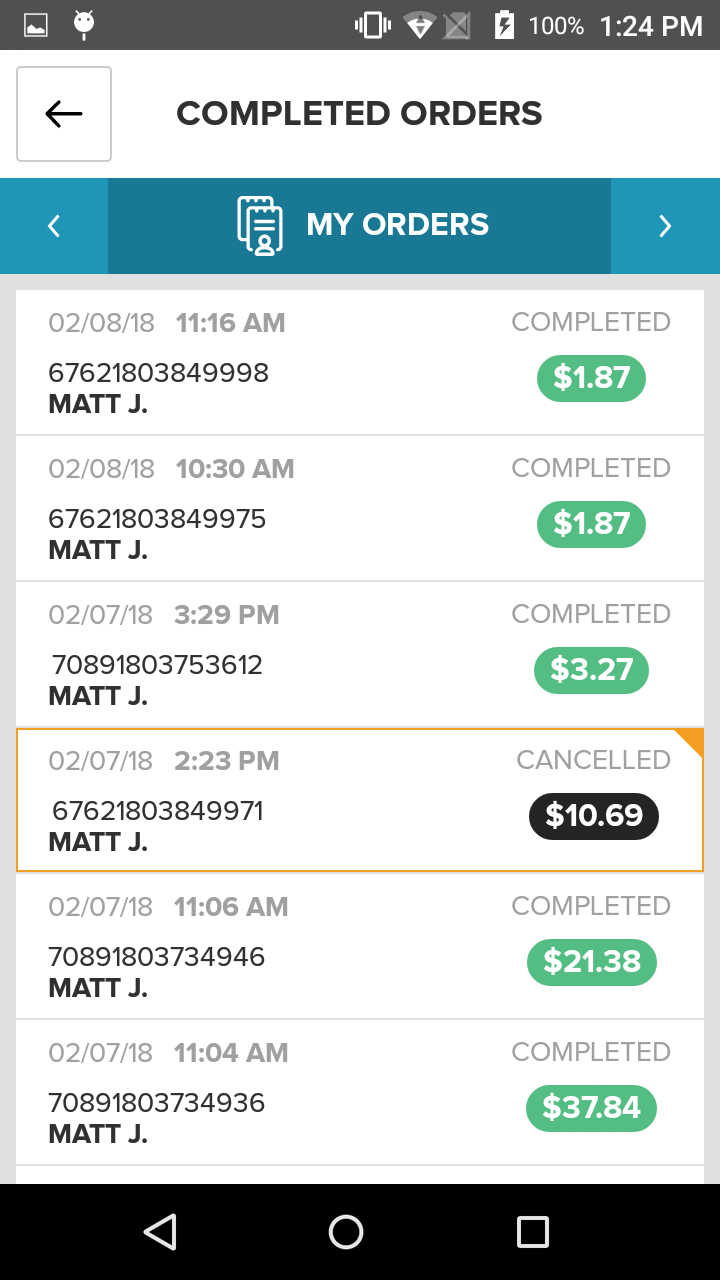
This Screen provides information about Orders created or completed by the current User logged into the Heartland Point of Sale app.
My Register Screen
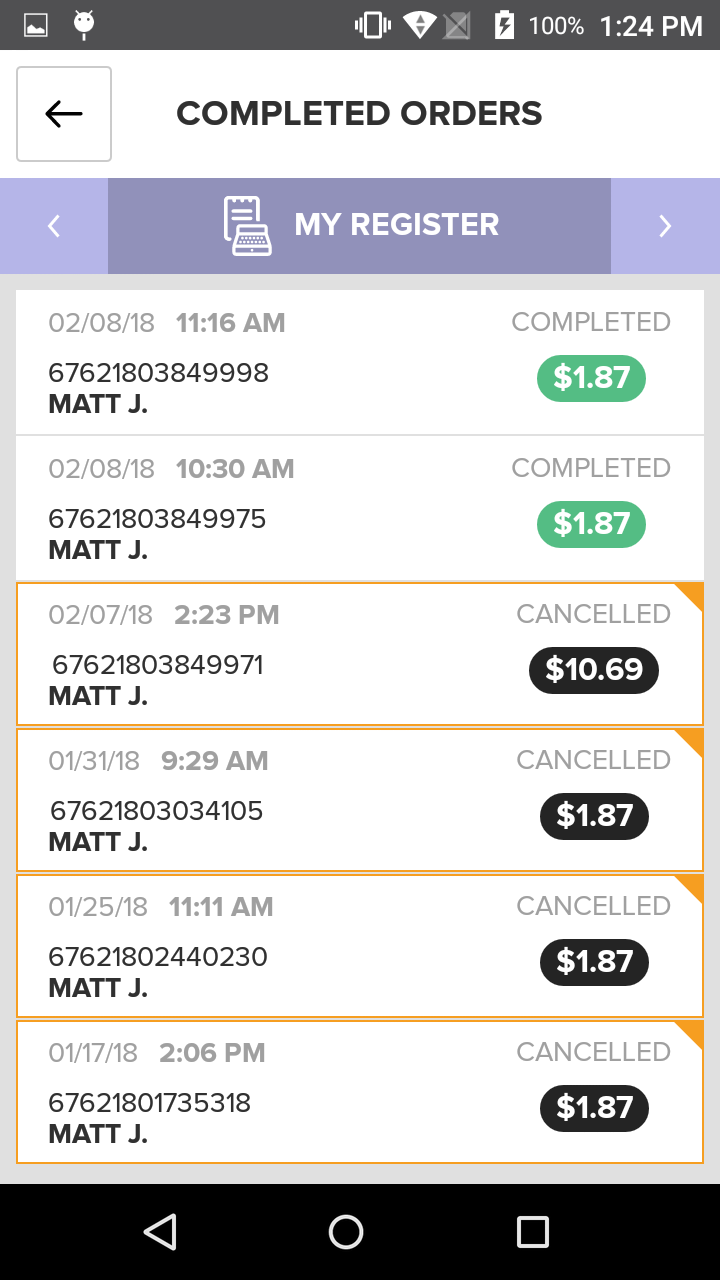
This Screen provides information about all Orders in the current Batch associated with the current Register.
Completed Screen
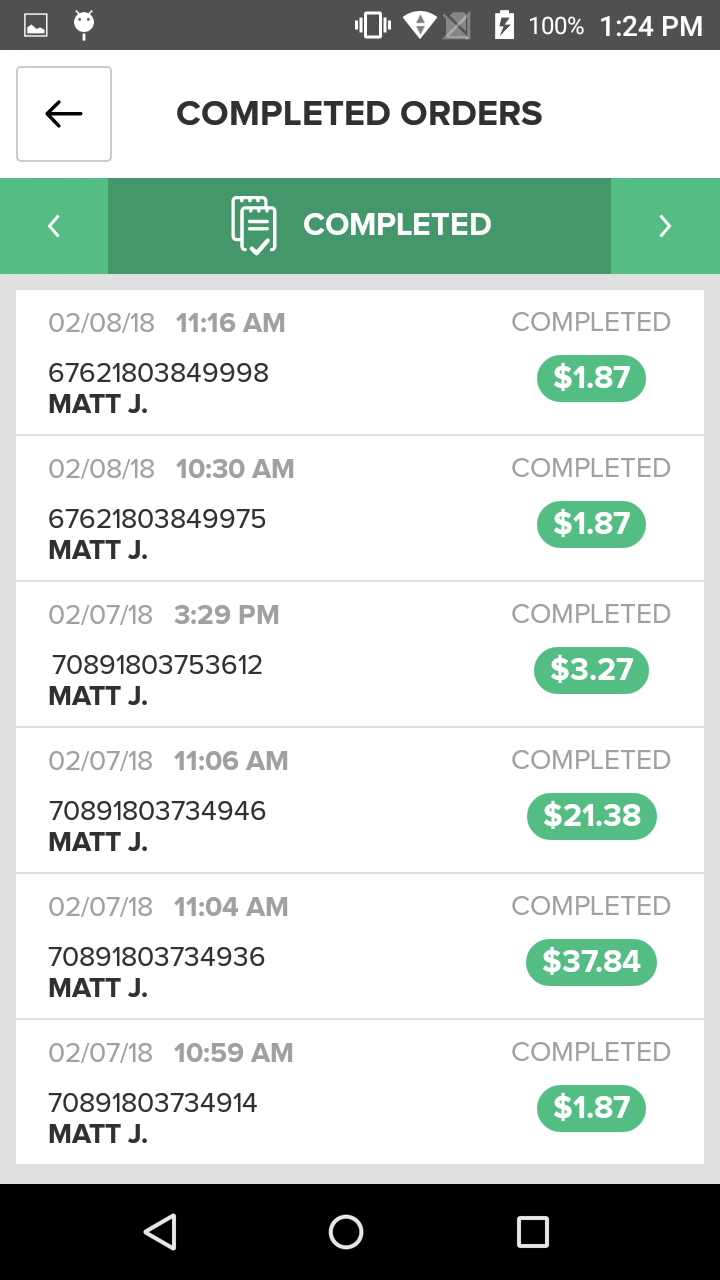
The Completed Screen provides a list of all completed Orders in the current Batch, excluding refunds and cancellations.
Refunded Screen
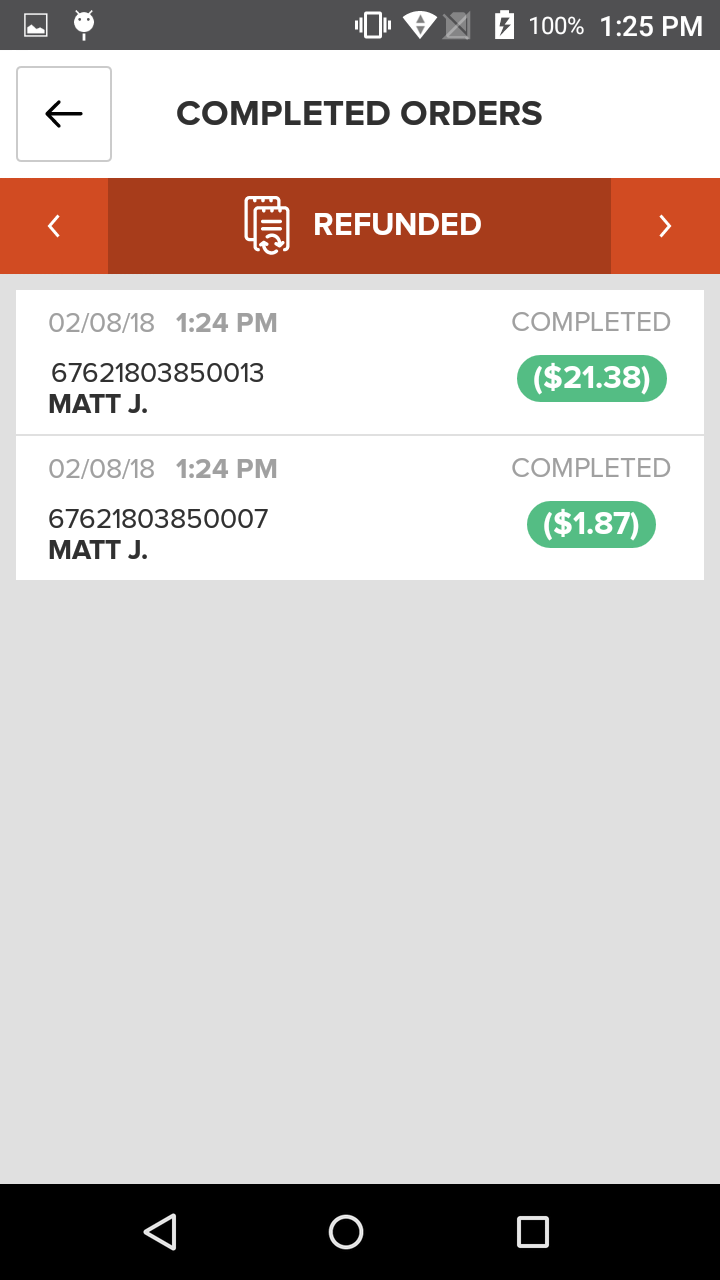
The Refunded Screen provides a quick and easy way for you to monitor refund activity and view information about Refunded Orders.
Canceled Screen
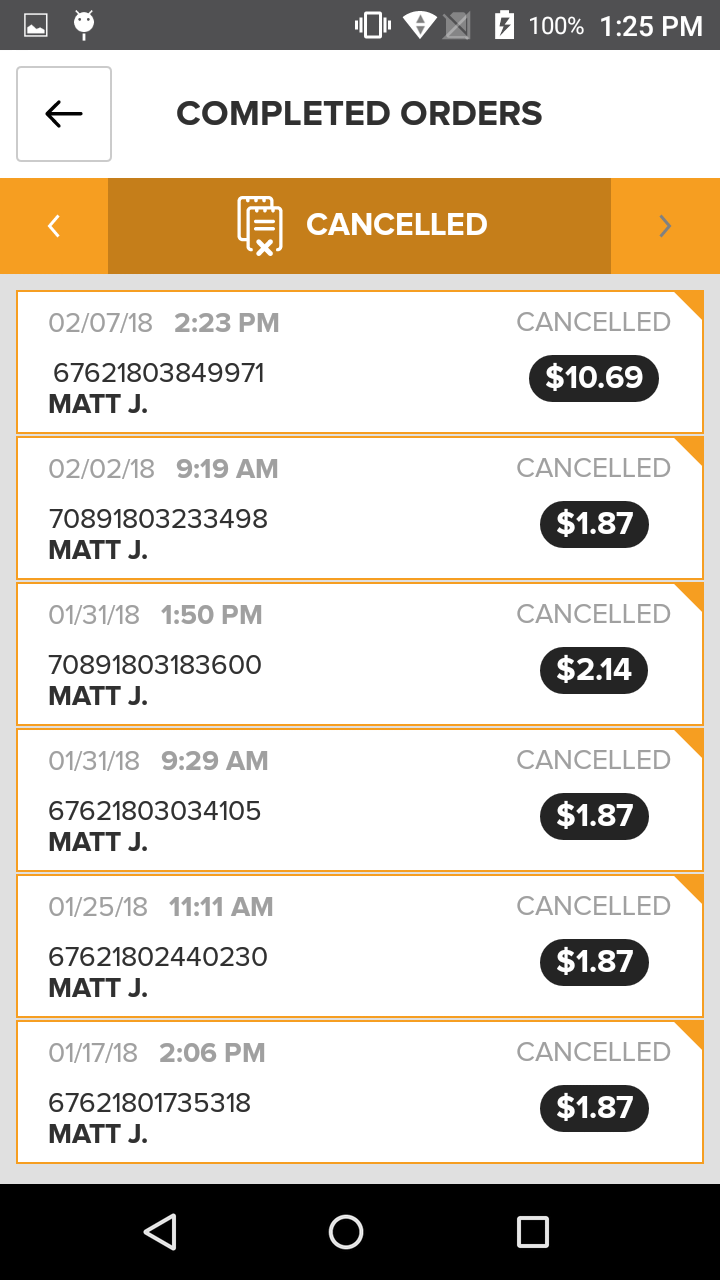
The Canceled Screen displays a list of all Canceled Orders, providing a quick and easy way for you to monitor cancellation activity and view information about specific Canceled Orders.
Screen Elements
There are two way to view each screen: the Sales List and the Details Viewer.
Sales List
The Sales List is located in the center of the screen. Each Sale appears as a panel with the Date/Time, Transaction Number, Server, Total, and status.
- Date/Time: Shows the Month/Date/Year and the time of day the Sale occurred.
- Transaction: The unique Transaction Number associated with the Sale.
- Server: The User who completed the Sale, or who was assigned the Sale, on the POS.
- Total: Shows the total amount of the Sale.
- Status: The Status shows the state of the Sale that was tended: Completed, Refunded, or Canceled.
If there are more Sales to display, you will be able to see them by swiping up on the screen. As you swipe up, the panel will scroll and more Sales will be loaded and displayed.
The Sales List will include only those Sales that are relevant to the screen you are viewing.
To view more detailed information about any Sale included in the Sales List, simply tap on the Sale Panel of the Sale you are interested in viewing to load the information in the Details Viewer.
Details Viewer
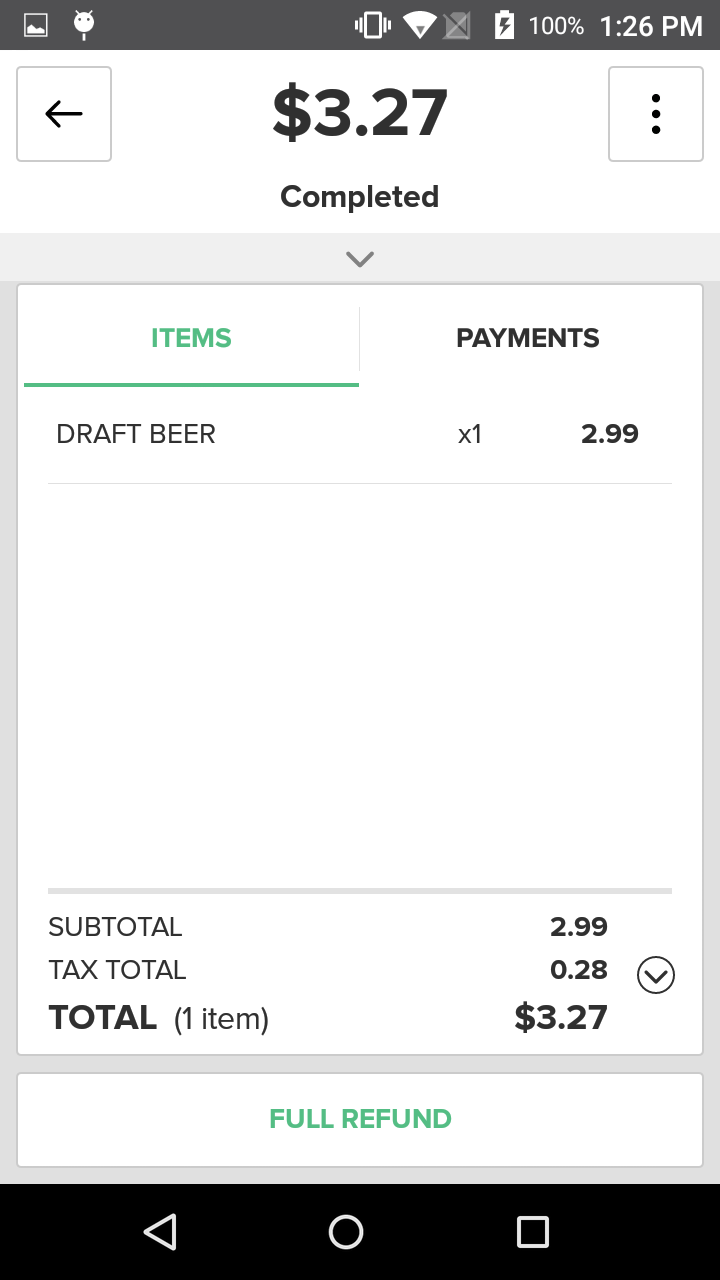
Pressing on a Sale in the Sales List will populate the Details Viewer with more detailed information about the relevant Sale. The Details Viewer has two available tabs, Items and Payments, which can be accessed by tapping either Items or Payments above the Receipt Viewer.
The Items Tab shows Sale Details. This includes the Sale Type, Transaction Number, Date/Time, Items in the Sale, applied Discounts, Subtotal, Tax Total, and Sale Total.
The Payments Tab lists all tender types used, and how much of each tender used. For example, if a customer paid for a $10 Order using $5 cash and then put $5 on a credit card, the Payments Tab would like Cash with $5 next to it and Credit Card with $5 next to it. If for any reason there is an outstanding balance on the Sale, the Remaining Balance will be listed at the bottom of the Receipt Viewer on the Payments Tab.
Actions
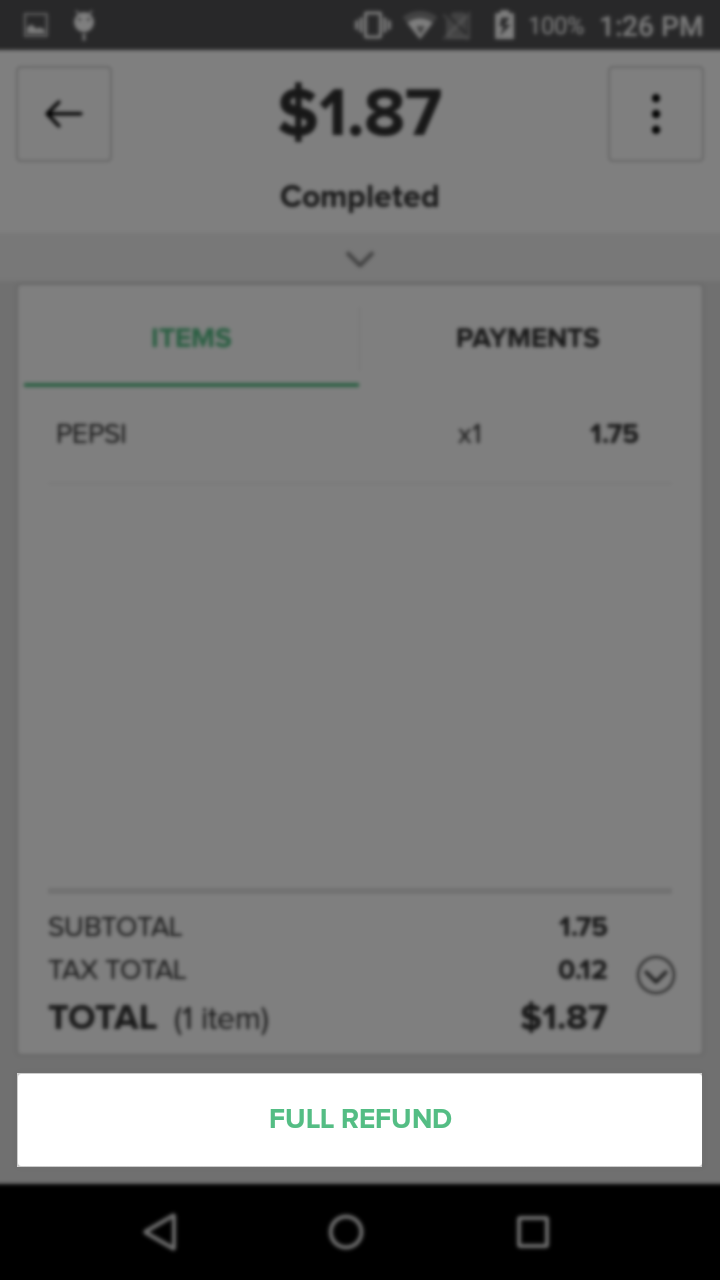
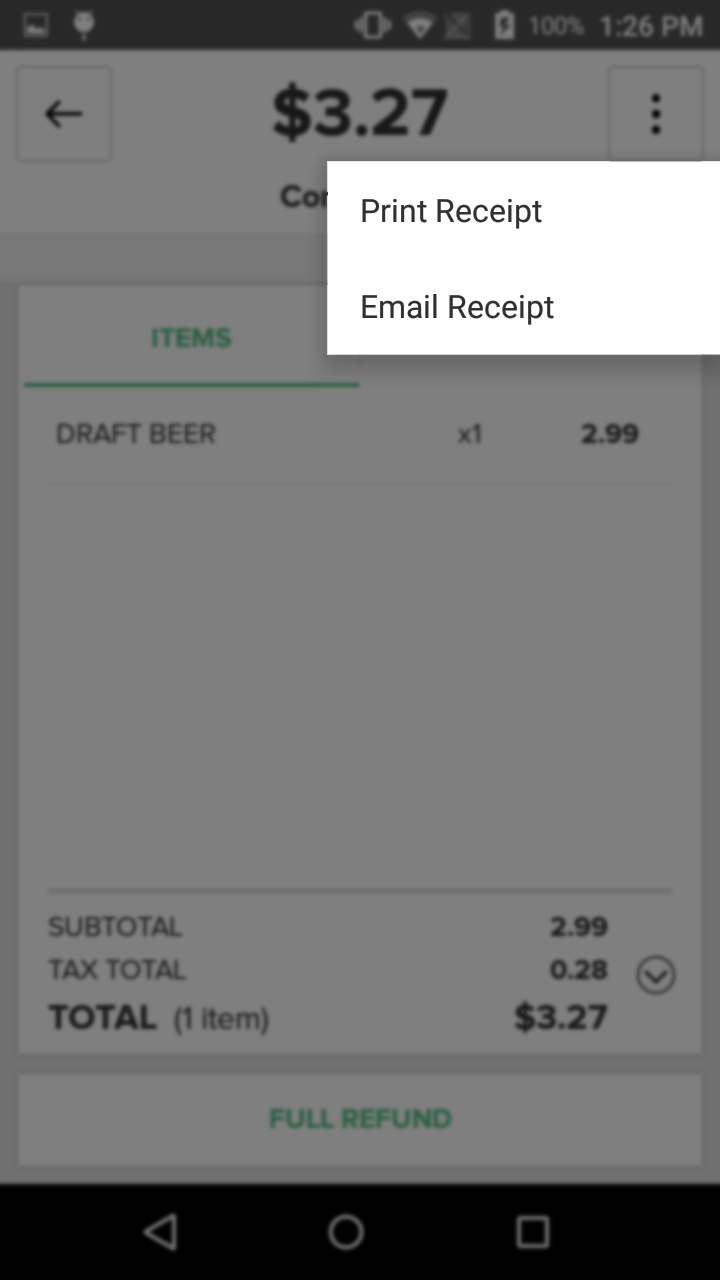
The Receipt Viewer includes the following action buttons: Print Receipt, Email Receipt, Refund Items, and Full Refund. The Refund Items and Full Refund Buttons will only appear in the Receipt Viewer if a Completed Order is selected, as Refunded and Canceled Orders cannot be refunded.
Email Receipt & Print Receipt
The Email Receipt Button and Print Receipt Button make it easy for you to email or print a receipt for a consumer if another copy is desired. The buttons are at the top of the Receipt Viewer.
Refunds
The Full Refund Button is located at the bottom of the Details screen, and will initiate the refund process when pressed.
After you refund a Sale it will no longer be displayed on the My Register Screen or Completed Screen but instead will now appear in the Refunded Screen.
